


24 Feb How to Wrap a Baby in a Muslin Wrap?
Wrapping your baby in a muslin wrap allows you to keep your little one close while keeping your hands free. Muslin wraps are lightweight, breathable, and versatile, making them an ideal baby-wearing option. While wrapping may seem intimidating initially, with a bit of practice, you’ll be an expert in no time! In this comprehensive guide, I’ll walk you through everything you need to know about how to wrap a baby in a muslin wrap.
What is a Muslin Wrap?
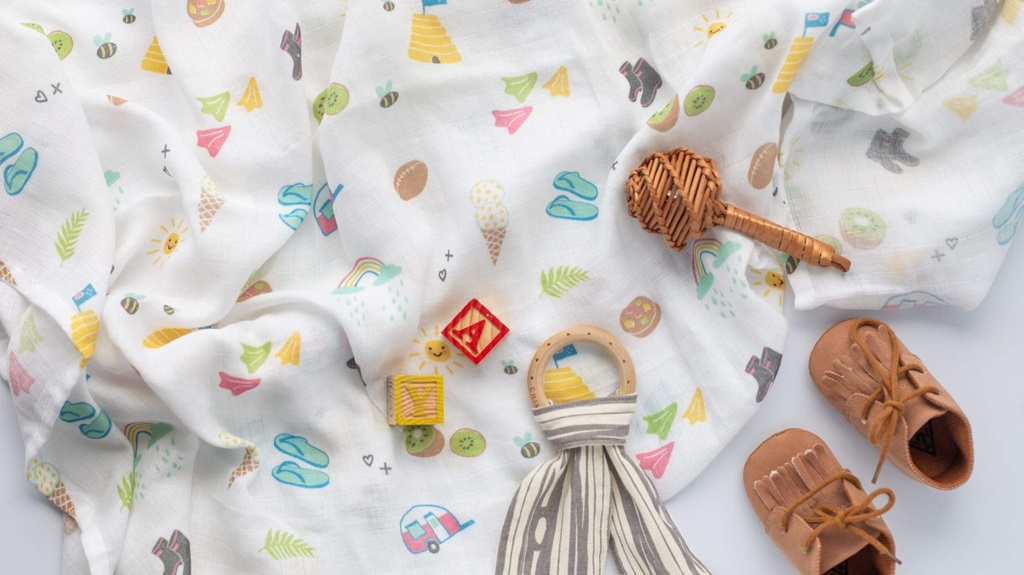
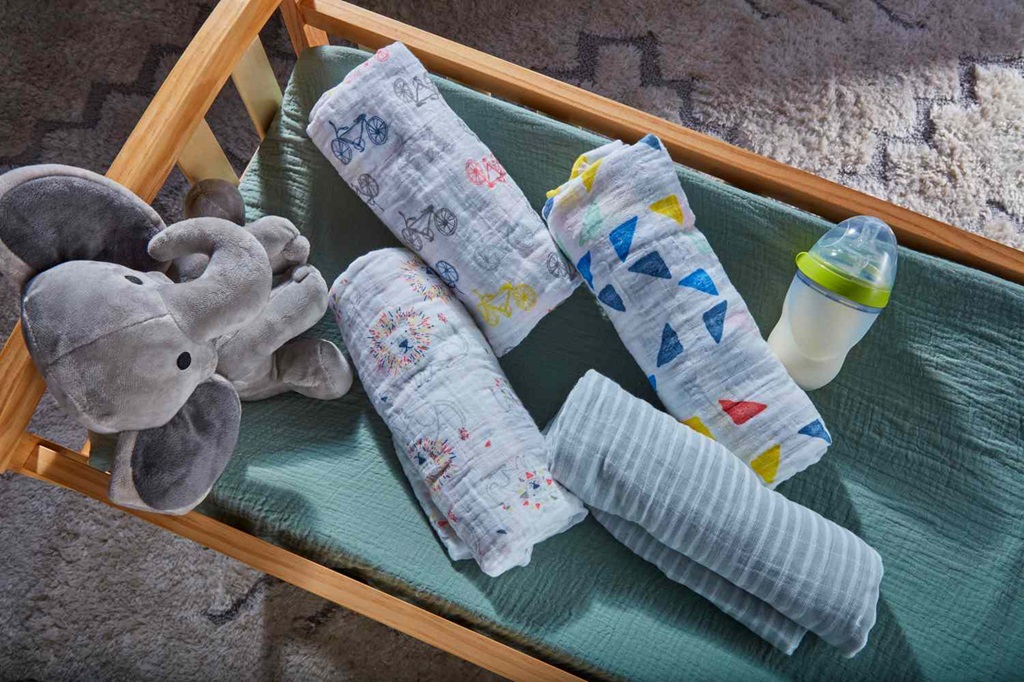
A muslin wrap is a large, lightweight piece of fabric wrapped around a caregiver’s body to hold a baby close. Muslin wraps are typically 4-6 yards long and made from soft, breathable cotton. Unlike more structured baby carriers, a muslin wrap is highly versatile and can be tied in various positions to accommodate babies of different sizes and ages.
Some key features of muslin wraps:
- Lightweight & breathable – Muslin fabric is lightweight and loosely woven, allowing airflow to keep the baby comfortable.
- Versatile – A muslin wrap can be worn in multiple positions as the baby grows. It can also be used as a swaddle, nursing cover, burp cloth, and more.
- Comfortable for baby – Muslin wraps keep babies close in a natural position where their weight is evenly distributed. The fabric is soft against the baby’s skin.
- Hands-free for the caregiver – With the baby wrapped against your body, you’ll have both hands free to cook, clean, work, and more.
- Promotes bonding – Keeping the baby close provides comfort, stimulates development, and promotes bonding through physical touch.
- Adjustable sizing – Extra fabric allows for adjusting the wrap to get a perfect fit for both baby and caregiver.
- Easy to care for – Muslin fabric is lightweight, quick-drying, and machine washable.
Choosing the Right Size Muslin Wrap
Muslin wraps typically range in size from 4-6 yards long.
When selecting a wrap, consider the following:
- Your size – If you have a larger frame, opt for a longer 6-yard wrap to provide enough fabric. Petite caregivers can opt for a four or 5-yard wrap.
- Baby’s size – A shorter wrap allows for a tighter fit for newborns. For toddlers, choose a longer wrap.
- Single or multi-use – Do you want to be able to share the wrap between caregivers? A longer wrap allows for more versatility.
- Pattern preferences – Select a wrap with your preferred print or solid color. Be aware patterns may show through with thicker wrapping techniques.
- Climate – Choose lightweight, breathable muslin over thicker wraps in hot climates.
Try the wrap on before purchasing it to assess the length and fabric. You want enough fabric to comfortably tie off while evenly distributing the baby’s weight.
How to Prepare Your Muslin Wrap
Before using your muslin wrap for the first time, you’ll want to wash it to increase its softness and remove any residual chemicals from manufacturing. Wash the wrap gently using a mild detergent and either line dry or tumble dry on low heat.
You’ll also want to practice tying the wrap before the baby enters it. Try it over a pillow to get a feel for the wrapping techniques. Having someone assist you can also be helpful when learning. Refer to the positioning wrap instructions below.
Finally, inspect the wrap before each use, looking for any tears, frays, or other defects that could impact safety. Avoid using wraps that are ripped, excessively worn, or have loose threads.
Muslin Wrap Safety Tips
When used properly, a muslin wrap can be an extremely safe way to keep the baby close while allowing mom or dad’s hands to remain free.
However, take the following safety precautions:
- Ensure the baby’s face is always visible and the chin is not pressed against the chest. This helps promote proper breathing.
- Ensure the fabric is tight across the baby’s face or neck. The loose fabric should only touch the face.
- Baby should be held close enough to kiss the top of their head. If they’re lower, the wrap may be too loose.
- The baby’s back should be supported in a natural C-curve; the tummy and chest should remain next to the caregiver.
- Avoid tying the wrap too low on your body, which can cause the baby to slump. Wrap high under your bust provides the best support.
- Do not attempt to nurse the baby while moving if they are wrapped against your chest. Stop and sit down first before unwrapping.
- When wrapping, spread fabric across your back for additional support and distribute the baby’s weight.
- Newborns lack head and neck control – proper support while wrapping.
- Avoid wearing wraps too long. Take breaks to reposition the baby and give their legs a rest.
Constantly monitor the baby closely and allow them to indicate if they need repositioning or a break from wrapping. Check their toes regularly to ensure good circulation.
How to Choose the Right Carry Position
One of the most significant advantages of a muslin wrap is the variety of carry positions possible as the baby grows.
Some good options include:
Newborn Carry
This keeps baby snuggled tight to your chest, promoting bonding and optimal head/neck support. Ideal for 0-3 months.
Front Wrap Cross Carry
Allows you to make eye contact with the baby by cradling them on your hip. You were used from the newborn stage up to about 18 months.
Back Wrap Ruck Carry
Let active toddlers ride along while keeping your front free. It is ideal for babies six months with reasonable head/neck control.
Hip Carry
It’s similar to a front carry but with the baby positioned on your hip. It is used for older babies who want to face outward and see their surroundings.
Consider your baby’s age, size, personality, environment, and comfort level when choosing which carry to use. Be prepared to regularly switch positions as your baby grows and becomes more curious!
How to Wrap Baby on Your Chest (Newborn Carry)

The newborn carry is a great way to keep your baby snuggled close right from their first days while leaving your hands free.
Follow these step-by-step instructions for adequately wrapping your baby on your chest:
Step 1: Position Baby
Start with the baby dressed only in a diaper and onesie. Hold them upright with their back against your chest, using one hand to support their neck/head and bottom with the other arm. Their legs should straddle your waist with your feet pointing down.
Step 2:Anchor the Wrap
Place the middle of the muslin wrap across your mid-back, pulling the fabric evenly across each shoulder so it hangs down your front. Anchor the wrap by tying the fabric at your lower back with a double knot.
Step 3: Spread the Fabric
Ensure the fabric is spread evenly across your upper, mid, and lower back. Avoid bunching, and ensure it feels secure when gently bouncing up and down.
Step 4: Pull Baby In
Bend your knees slightly while pulling the baby gently against your body using the wrap fabric. Their head can rest on your chest. Keep hold of the bottom rail of cloth in each hand.
Step 5: Criss-Cross the Fabric
Bring the bottom of the right side rail up and over the baby’s back diagonally, criss-crossing over their body. Repeat this with the left side rail, creating an “X” shape across the baby’s back.
Step 6: Cross Under Baby
Bring the loose right side rail under the baby’s bottom. Pull it across your body and over your left shoulder. Repeat with the left side rail, crossing it over your right shoulder.
Step 7: Spread the Fabric
Gently spread and tighten the crossed fabric to create a secure seat for the baby, letting their bottom rest on the cross. The rails will support their neck, back, and bottom.
Step 8: Tie Off
Tie the two rails together in a double knot at your side, allowing room for your fingers between the knot and the baby. Make sure the baby is held close enough to kiss their head. Adjust as needed until you have a secure, comfortable fit.
Check the baby’s airway and do a final safety check. You did it! Enjoy hands-free snuggles.
How to Use a Front Wrap Cross Carry
The front wrap cross carries you to hold the baby on your hip while maintaining eye contact.
Follow these instructions to master this position:
Step 1: Anchor the Wrap
With the baby standing in front of you, place the middle of the wrap at your mid-back. Bring fabric evenly over the shoulders so the ends are hanging down front. Tie a double knot at your lower back.
Step 2: Create a Pocket
Hold both fabric rails in one hand. Using your other hand, reach across and pull the right side rail across the front of your body under the baby’s bottom, creating a pocket.
Step 3: Sit Baby In Pocket
Sit the baby down in the carrier, with their back against you and their feet facing out. Use your hand to keep them secure.
Step 4: Cross the Rails
Take the fabric rail from your right shoulder and pull it across your body, over the baby’s back to your left shoulder. Then, cross the left rail over the baby’s back to your right shoulder.
Step 5: Spread Fabric
Spread the crossed rails evenly across the baby’s back to create a seat, just like with the newborn carry. Make sure the fabric supports the baby’s neck.
Step 6: Pull Rails Under Bottom
Reach beneath the baby and pull both crossed rails between their legs to create leg openings. Bring one rail across the front and over a shoulder. Repeat on the other side.
Step 7: Tighten the Wrap
Gently tighten the crossed rails under the baby’s bottom to create a secure seat. Check the tightness by bouncing gently up and down.
Step 8: Tie Off
Tie the two rails together on your side in a double knot, leaving room for two fingers between the baby and the knot. Make final adjustments so the baby is held close and secure.
Be sure to spread the fabric across your back for extra support. You did it! Enjoy your hands-free cuddles.
How to Back Wrap with a Ruck Carry
A back wrap carry is excellent for older babies and toddlers who want to face outward and see the world.
Try the ruck carry method:
Step 1: Anchor the Wrap
Place the middle of the wrap across your mid-back and pull rails forward over each shoulder. Tie a double knot at your lower back.
Step 2: Find the Mid-Point
Figure out the mid-point of the wrap by folding it in half. Place the mid-point on your back at shoulder level.
Step 3: Pull Rails to Front
Reaching behind, gently pull both rails to the front. Let one rail hang longer than the other.
Step 4: Sit Baby on a Longer Rail
Sit baby on the more extended rail with their legs straddling your hip and facing the same direction as you. Always support the baby securely.
Step 5: Pull the Rail Across Baby
Take the more extended rail and gently pull it across the front of the baby’s body to your opposite hip, cradling it.
Step 6: Crisscross the Rails
Take the shorter second rail and crisscross it over the baby’s back to your opposite shoulder. Repeat this criss-cross with the other rail.
Step 7: Spread Fabric
Spread fabric evenly across the baby’s back while keeping them snug against you. Make sure their head is supported.
Step 8: Tie Off
Tie the two rails together on your side in a secure double knot, leaving room for two fingers between the baby’s back and the knot.
Check the baby’s comfort and do a final safety check. Now enjoy the ride!
Common Mistakes to Avoid
Mastering baby wrapping takes time and practice. Avoid these common mistakes beginners make:
- Wrapping too loose – The wrap must be snug to support the baby properly letting the Baby slump – Be sure to support the baby’s neck/head and keep their back in a C-curve.
- Fabric bunched up – Spread fabric evenly across your back and baby’s to distribute weight.
- Rails uneven – Pull fabric evenly over shoulders so rails are the same length.
- A knot tied too tight – Leave room for two fingers between the knot and the baby.
- Putting baby upside down – Their belly should always remain next to you for comfort and security.
- Rushing the process – Take it slow until you get it.
- Not supporting the baby’s head – Always keep it until they have head/neck control.
- Skipping safety checks – Double-check for proper tightness, breathing room, and comfort.
Be patient with yourself as you learn. With practice, you’ll be wrapping like a pro in no time!
Caring for Your Muslin Wrap
With regular use, proper care is essential for keeping your muslin wrap in top condition:
- Inspect the wrap before each use for tears, frays, or holes. Discontinue use if any defects are found.
- Machine wash on a gentle cycle using mild detergent and cool water. Avoid bleach.
- Air dry or machine dry on low when possible to preserve the fabric.
- Remove messy drool spots and dribbles promptly with a damp cloth to prevent staining.
- Avoid heavy creams or oils before wrapping, which can stain fabric.
- Store muslin out of direct sunlight to prevent fading over time.
- Consider having a backup wrap so one is always ready when the other is washing.
- To freshen between washes, shake the wrap or place it in the dryer for 10 minutes.
With proper care, your muslin baby wrap can be used for multiple children and provide many years of baby-wearing adventures!
Wrapping Up
Learning to use a muslin baby wrap takes time and patience, but it’s a worthwhile skill that lets you keep your little one close while staying active. Start slow, practice often, and don’t get frustrated with mistakes. Before you know it, wrapping will feel like second nature.
The key is finding a comfortable, safe position that works for both you and your baby at that moment. Remain attentive to your baby’s cues and adjust them to meet their needs as they grow. You’ll love the hands-free cuddles and bonding time with the suitable muslin wrap and proper technique. Happy wrapping!
Frequently Asked Questions
How long can I safely wear my baby in a muslin wrap?
Limiting wrapping sessions to 60-90 minutes is generally recommended, followed by a break to reposition the baby and ensure proper circulation. Watch for signs of discomfort. Newborns often only tolerate 30-45 minutes.
At what age can I start using a muslin wrap?
Muslin wraps can be used right from birth as long as proper head/neck support is provided and the baby is positioned correctly against the caregiver’s body. Preemies may need to wait until closer to their original due date.
Is a muslin or structured carrier better?
Muslin wraps are incredibly versatile and adjustable for growing babies. Structured carriers provide more back support as babies become more mobile. Try both to see what you and your baby prefer!
Can Dad use the muslin wrap, too?
Absolutely! Muslin wraps are an excellent baby-wearing option for moms and dads. Dads may prefer back carry positions as the baby grows older. Adjust the length and tightness to suit your body.
When should I stop wrapping my baby?
Most experts recommend transitioning from wrapping to a back carry by 12-15 months. But ultimately, comfort is vital – cover as long as the baby still seems content, and you can manage their growing weight.
Do you still have questions? Don’t hesitate to ask your pediatrician or a babywearing consultant. With patience and practice, you’ll be a pro wrapper in no time!
Sorry, the comment form is closed at this time.