
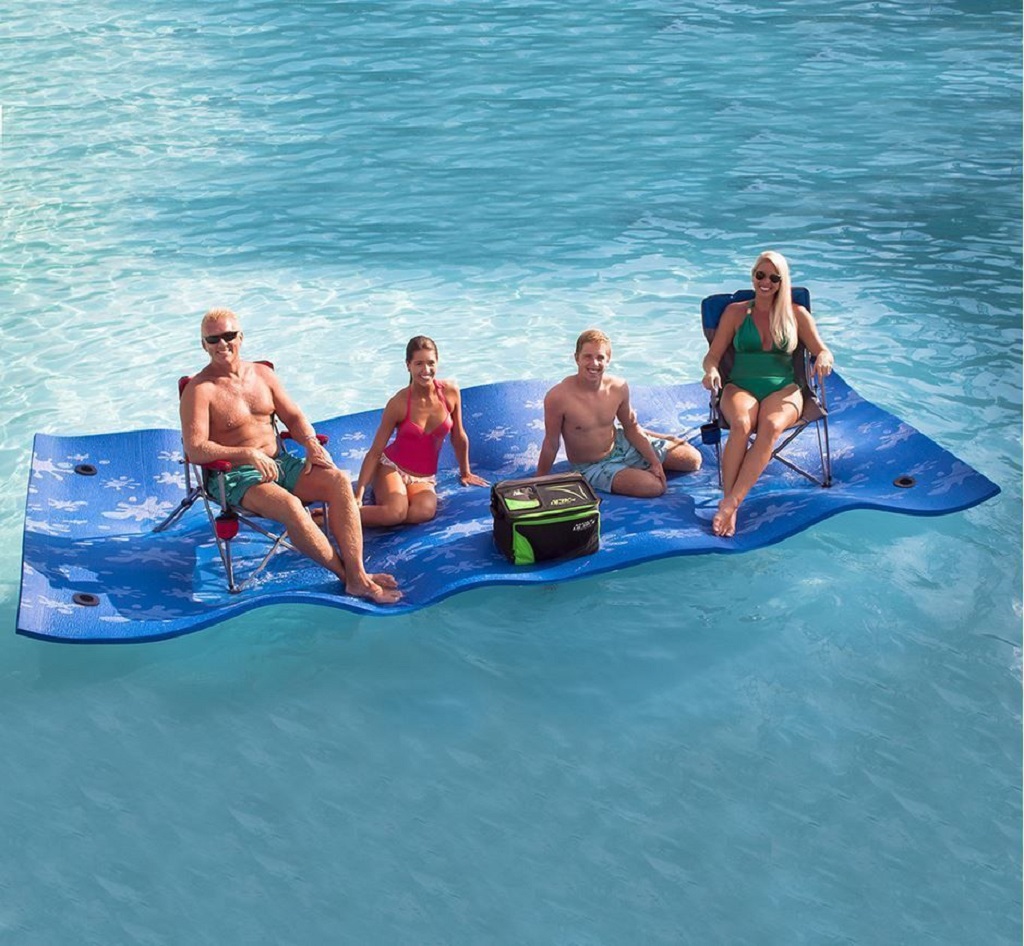
15 Jan Guaranteed fun with this water mat
I’ve been looking at these water mats for a long time, they seem like a good idea to keep the kids entertained all afternoon. Since I saw them for the first time on Pinterest I have not stopped until I found the best tutorial on how to get one of them. There it goes.
We need:
- Painter’s plastic, big enough since we will fold it in half and that will be the size of our mat
- Ironing board and iron
- Parchment paper
- Adhesive tape, to seal the hole for the hose
We stretch the plastic on the ground and fold it in half leaving room for the water bubble, not worrying about the alignment of the edges.
Now we are going to start gluing the edges, for this we will put the ironing board on the floor (it will be more comfortable to work with) and on it the parchment paper so as not to damage the board (you can make a line as a guide).
We will start by sealing the plastic from one corner by melting it with the iron, for this we will align the plastic on the guide and fold the paper to pass the iron over it and make it stick (do not use the iron directly on the plastic). Wait a bit and remove the paper. Continue gluing the edges, making sure there are no holes left.
Once we have closed all the edges, we will make a small opening near a corner to put the hose, this corner we will raise a little during the filling so that the water does not come out.
The fun part is here, we start to fill the mat (it takes a while so be patient). When it is full, seal the hole with masking tape.
Note:
Food coloring can be added to the water for photographic effects. In addition to a little water on the mat for the children to splash.
Sorry, the comment form is closed at this time.